
How to Install Smart Thermostats: 6 Mistakes Most Miss
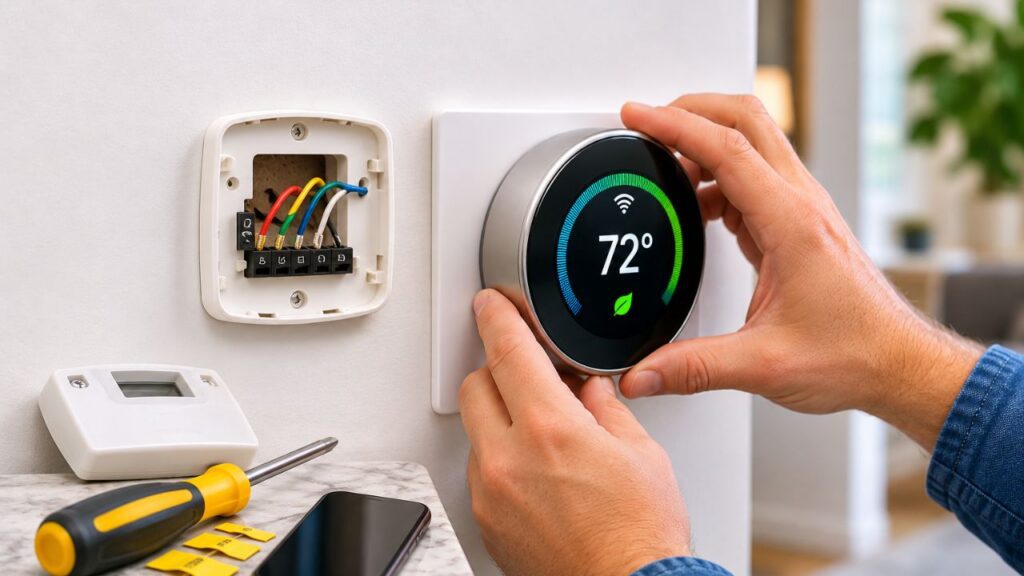
To install a smart thermostat, first check if it works with your HVAC system. Then turn off the power, label the old wires, mount the new thermostat, and test it. Some models are easy to install yourself. Others need extra wiring or help from an HVAC technician.
You might think it’s a quick job until you pull the old thermostat off the wall. There’s a blue wire tucked behind it. The new one has a C terminal. Does that wire go there? Not always. At Star Services Heating & Air Conditioning, we help North Georgia homeowners with heating, cooling, and thermostat installation. Here’s what to know before you start.
Can You Install a Smart Thermostat Yourself?
Yes, if you have a compatible low-voltage HVAC system and the wiring is clear. Replacing an old thermostat may be fairly simple. But some homes have older equipment or more complex heating systems. Before you start, find out what type of system you have. A standard furnace and AC setup is different from a heat pump with backup heat. Knowing this helps you choose the right thermostat and avoid problems later.
If you see thick wires marked 120V or 240V, stop. Most common smart thermostats aren’t made for high-voltage systems. Have a qualified professional check the wiring before going further.
What Do You Need Before Installing a Smart Thermostat?
A simple replacement may take 30 to 60 minutes. Give yourself more time if you’ve never done it before. You don’t want to rush through the job just to get the AC running again.
Have these ready:
- A screwdriver and the new thermostat’s mounting hardware.
- Your phone to photograph the old wiring.
- Wire labels, often included in the box.
- The installation guide for your model.
- A drill and wall anchors, if needed.
You should also have access to the manufacturer’s compatibility checker. Most major brands offer one online. It can help you find out whether your thermostat supports your existing equipment.
How to Install Smart Thermostats Step by Step
The exact steps depend on the brand and your HVAC system. Always follow the instructions for your model. For a compatible low-voltage setup, the process usually looks like this:
- Turn off the HVAC power. Use the correct breaker or disconnect and verify the power is off.
- Remove the old thermostat cover. Leave the wires connected for now.
- Take a clear photo. Make sure the terminal letters are visible.
- Label each wire. Use the old terminal markings as your reference.
- Disconnect the old thermostat. Keep loose wires from slipping into the wall.
- Mount the new base. Connect the wires according to the manufacturer’s guide.
- Finish the setup. Attach the display, restore power, and follow the setup prompts.
If a terminal doesn’t match the instructions, don’t guess. Some older thermostats use different labels. Stop and get the connections identified before continuing.
6 Smart Thermostat Installation Mistakes Most Homeowners Miss
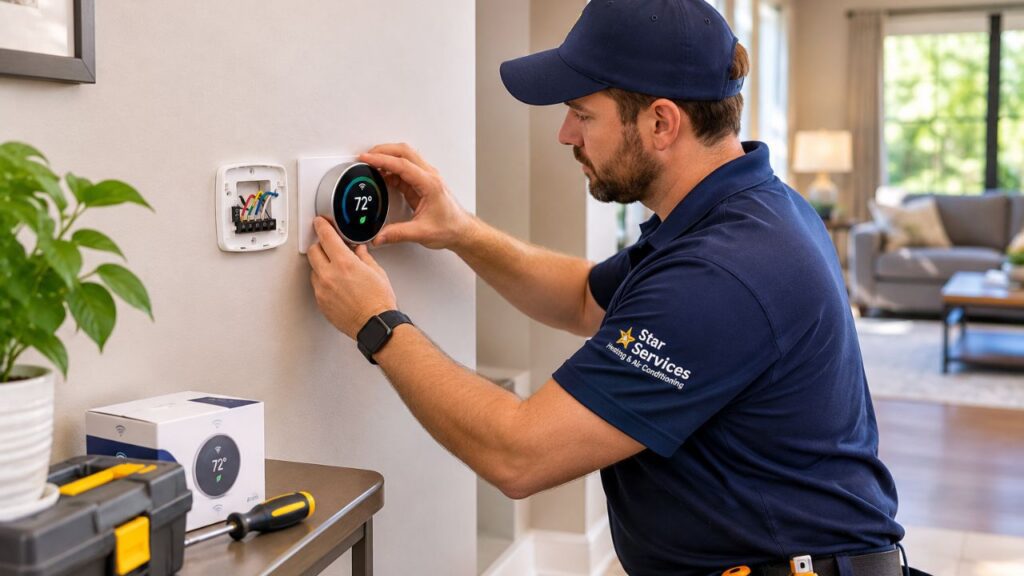
1. Buying a Thermostat That Doesn’t Work With Your HVAC System
You find a smart thermostat on sale. It has Wi-Fi, phone controls, and a nice screen. You order it without checking much else. Then you open the box and realize your heating system isn’t supported. Not every smart thermostat works with every furnace, air conditioner, or heat pump. Some models also need extra equipment for certain systems.
Before buying, check:
- Whether you have a furnace, heat pump, or another heating system.
- If the thermostat supports your heating and cooling system.
- Whether your current wiring meets the model’s requirements.
- If your system uses auxiliary or emergency heat.
This matters in North Georgia, where many homes use heat pumps. A thermostat designed for a basic furnace may not suit a heat pump with electric backup heat.
2. Thinking a Blue Wire Must Be the C-Wire
A C-wire helps provide steady power to many smart thermostats. It supports features like Wi-Fi and the display. But not every model needs one. What if you don’t see a wire connected to C on your old thermostat? That doesn’t always mean you need to run new wiring. Some models work without a C-wire. Others use a compatible power accessory.
An unused wire behind the wall may be another option, but only if it’s properly connected at the HVAC equipment. Don’t assume it’s ready to use. Check your thermostat’s instructions before deciding what to do next.
3. Matching Smart Thermostat Wiring by Color
Red goes to red, and green goes to green. Seems easy enough? But smart thermostat wiring doesn’t always follow the colors you expect. Someone may have changed the connections during an earlier repair. An older system may also use different labels. That’s why the photo you took before removing the old thermostat matters.
Say the old thermostat has a wire connected to O/B. That terminal may control the reversing valve on a heat pump. Connecting it incorrectly can affect heating and cooling. Use the terminal labels and your new thermostat’s wiring guide. If the labels are missing or unclear, have the connections identified before proceeding.
4. Forgetting to Set Up the Heat Pump Correctly
This is easy to miss because the thermostat may look fine after installation. The screen turns on. You can change the temperature. Everything seems to work. Then you switch to cooling, but warm air comes through the vents. Heat pumps need the right settings to switch between heating and cooling. Some also have auxiliary heat for colder days. Your thermostat needs to know how that equipment works.
Incorrect settings can leave your home uncomfortable or cause backup heat to run when it isn’t needed. If you’re unsure about the setup, don’t try random settings to see what works. A technician familiar with residential HVAC systems can check the configuration.
5. Putting the Thermostat Where It Gets Too Much Heat
The thermostat measures the air around it. It doesn’t know how every room in your house feels. Picture a thermostat on a wall that gets afternoon sun. The sun warms that spot, even when the rest of the house feels cool. Your AC may keep running because the thermostat thinks the room is hotter than it is. Keep it away from sunny windows, supply vents, exterior doors, and nearby heat sources.
If you’re replacing an old thermostat, you may be able to use the same spot. But if that area has always given odd temperature readings, moving it may help.
6. Assuming the Job Is Done When the Screen Turns On
You’ve connected the wires and restored the power. The screen lights up. You connect your phone, change the temperature, and call it a day. But have you checked whether the furnace or AC actually responds?
A thermostat can have power while the HVAC system still has a wiring or setup problem. Test both heating and cooling according to the manufacturer’s directions. If you have a heat pump, check the modes your system supports. If the system doesn’t respond as expected, turn it off. Don’t keep changing connections in hopes of fixing it.
Why Is My Smart Thermostat Not Working After Installation?
Sometimes a problem shows up right away. Other times, you notice it when the house won’t cool down. Before changing anything, check the thermostat’s instructions and look for an error message.
| What you notice | What might be wrong |
| Screen stays blank | Power supply or wiring issue |
| Thermostat works, but AC won’t start | Incorrect settings or wiring |
| Warm air comes out in cooling mode | Heat pump configuration issue |
| Wi-Fi won’t connect | Network or app setup problem |
| Temperature seems wrong | Poor thermostat location or sensor issue |
These are possible causes, not certain answers. If your AC still won’t respond, Star Services offers AC repair and installation, including help with thermostat problems.
Is Professional Smart Thermostat Installation Worth the Cost?
It depends on how much work your system needs. If you’re replacing a compatible thermostat with clear wiring, doing it yourself may save money. But what if the new model needs extra wiring or your heating system has a more complex setup?
Professional installation costs vary based on the thermostat, wiring, and work involved. A technician can also test the system before leaving, so you know the heating and cooling respond as they should. If you’re unsure about the setup, paying for installation may be worth avoiding a costly mistake.
Get Professional Smart Thermostat Installation in North Georgia
At Star Services Heating & Air Conditioning, we help homeowners across North Georgia with smart thermostat installation and residential HVAC services. We also provide heating repair and heat pump services when the issue goes beyond the thermostat.
We serve Alpharetta, Cumming, Gainesville, Duluth, Johns Creek, and nearby areas. Whether you’re replacing an old thermostat or switching to a Wi-Fi model, we’re here to help you get it set up correctly. Contact Star Services to schedule professional HVAC service or request an estimate.
Frequently Asked Questions
Can I install a smart thermostat without a C-wire?
Sometimes yes. Some models work without one, while others need a compatible power accessory. Check the manufacturer’s instructions before buying.
Will a smart thermostat work with an older HVAC system?
It might. The type of system, voltage, and wiring matter more than age alone. Check those details before choosing a model.
How long does smart thermostat installation take?
A straightforward replacement may take 30 to 60 minutes. Older wiring or complex heating systems can take longer.
Should I call an electrician or an HVAC technician?
For most low-voltage thermostat replacements, an HVAC technician is a good choice. High-voltage wiring may require a qualified electrician.